
As an Amazon Associate, I earn from qualifying purchases. This article contains affiliate links at no extra cost to you.
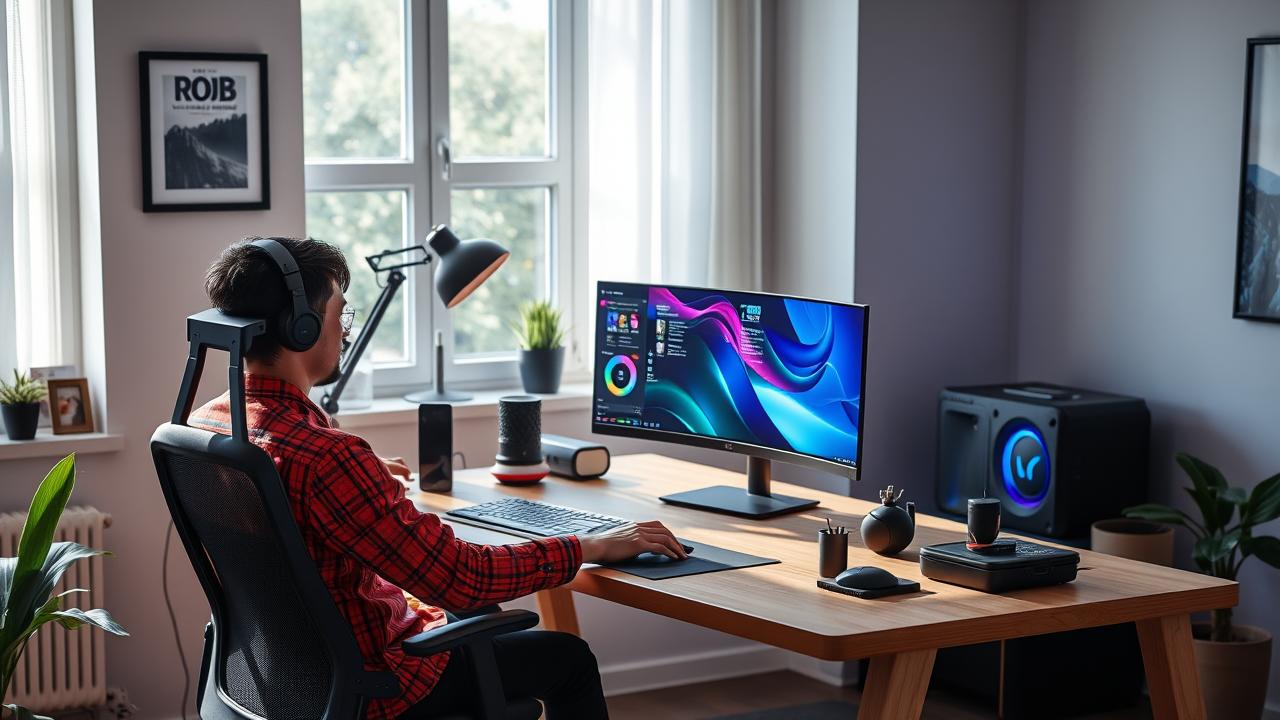
An RGB desk setup done right looks like something out of a sci-fi movie. Done wrong, it looks like a Christmas tree exploded. The difference is intentionality — choosing the right products, placing them correctly, and syncing your lighting ecosystem. This guide covers every RGB component, from monitor bias lighting to under-desk LED strips, with product recommendations and step-by-step setup instructions.
What You Need Before You Start
Before buying RGB products, decide on your ecosystem: Razer Chroma, ASUS Aura Sync, Corsair iCUE, or a standalone app like Govee Home or Philips Hue. Mixing ecosystems creates management headaches. Also note your desk’s power outlet situation — RGB products need USB or wall power.
Step 1: Start with Monitor Bias Lighting
Bias lighting — an LED strip behind your monitor — is the single most impactful RGB addition. It reduces eye strain by reducing contrast between the bright screen and dark surroundings, and creates a ‘halo’ effect that looks exceptional. Govee’s monitor light bar and Philips Hue Play are top picks. Mount the strip to the back of your monitor using the included adhesive. For the best effect, match the LED color temperature to your screen’s white point (usually 6500K for gaming monitors).
Step 2: Add Under-Desk and Ambient LED Strips
Under-desk LED strips mounted to the underside of your desk project light onto the floor and wall, creating an ambient glow. This is best done with RGBIC strips (individual LED segments) that can show multiple colors simultaneously. Govee, Phidget, and Paulmann make popular options. Route the strip along the back edge of the underside, connecting at one corner. App-controlled options (WiFi or Bluetooth) let you change colors without getting under the desk.
Step 3: Choose RGB Peripherals in Your Ecosystem
Keyboard, mouse, and headset are your primary peripheral RGB components. For best visual cohesion, choose peripherals within a single ecosystem: Razer (Chroma), Corsair (iCUE), ASUS (Aura Sync), or Logitech (Lightsync). Single-ecosystem setups can sync all devices to the same animation. Cross-ecosystem setups require manually matching colors. Avoid RGB for RGB’s sake — a high-quality non-RGB peripheral is better than a low-quality RGB one.
Step 4: Set Up Your Lighting Zones and Scenes
Once your hardware is installed, create lighting zones in your app. Typical zones: monitor bias lighting, desk strips, keyboard/mouse, room ambient lights. Create scenes for different use cases: Gaming scene (immersive, reactive to game events), Work scene (cool white, low intensity to reduce distraction), Movie scene (warm amber, dim), Streaming scene (brand colors, consistent). Start with simple static colors before diving into reactive effects.
Step 5: Sync Gaming RGB with In-Game Events
Most major RGB ecosystems support game integration. Razer Chroma supports 200+ games — your keyboard lights up red when you take damage, shifts to blue when you’re in water. Corsair iCUE and ASUS Aura Sync have similar libraries. To enable: install the ecosystem software, enable game integration in settings, install the SDK for each game. Not all games support RGB sync but the major titles (CS2, Valorant, Fortnite, etc.) do.
Recommended Products
Govee TV LED Backlights RGBIC – $29
Best budget bias lighting with RGBIC multi-color capability and app control.
Govee Neon Rope Light – $49
Flexible neon-style LED for under-desk and wall mounting.
Razer BlackWidow V4 Pro – $229
Premium RGB keyboard in Razer Chroma ecosystem.
Philips Hue Play Light Bar – $89
Best smart bias lighting with Hue ecosystem integration.
Common Mistakes to Avoid
- Mixing multiple ecosystems — creates app overload and mismatched colors
- Too many colors at once — pick 2-3 complementary colors maximum
- Placing LED strips where they reflect directly in your monitor
- Choosing RGB peripherals over quality peripherals — function over form
- Not using cable management with RGB strips — tangled RGB cables look terrible
Frequently Asked Questions
What RGB ecosystem should I choose?
If you’re starting fresh, Razer Chroma has the largest game integration library. If you already have ASUS PC components (GPU, motherboard), use Aura Sync. For the most visual polish, Corsair iCUE has the best animation editor. Don’t mix ecosystems unless you want management headaches.
Does RGB lighting affect gaming performance?
No — RGB is purely aesthetic. The software overhead is minimal (under 1% CPU for most ecosystem apps). The only performance consideration is that RGB keyboards and mice are sometimes heavier than non-RGB versions, which some competitive FPS players prefer to avoid.
Can I add RGB to an existing non-RGB setup?
Yes — LED strip bias lighting and ambient strips add RGB independently of your peripherals. Govee and Philips Hue products work via WiFi/Bluetooth without any peripheral ecosystem integration. This is the easiest way to add an RGB aesthetic to an existing setup.
Final Thoughts
The key to a great RGB setup is intention: choose one ecosystem, use 2-3 colors consistently, and make sure lighting serves a functional purpose (like bias lighting reducing eye strain) in addition to aesthetics. Start with bias lighting, add under-desk strips, then match your peripherals. Done right, the result is a setup that looks as good as it performs.
*Prices may vary. Always check Amazon for current pricing.